So, here goes.
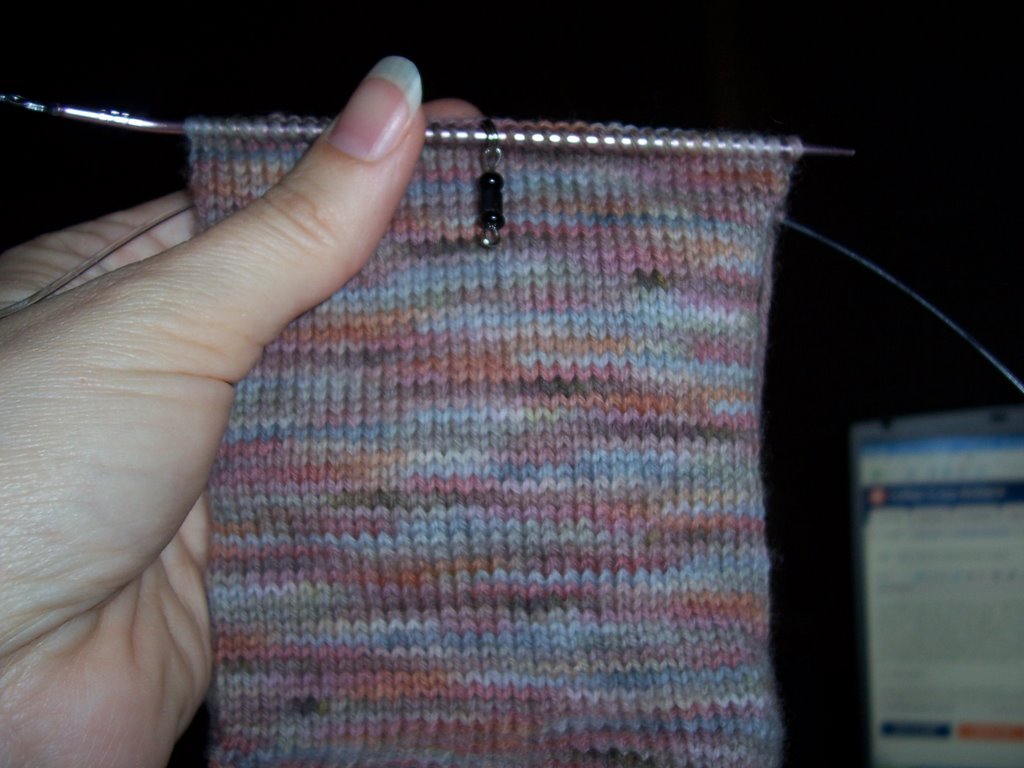
Once you've knit to the desired length, usually 2 inches from the tip of the foot, you'll need to arrange the bottom half of the total amount of stitches on one needle. Like this:
The little dangly stitch marker, marks the middle of the bottom of the foot. This is only so you know where the middle is in the photo, no need to do this unless you are SO new you are confused as I was. =)*)
In a way, this is similar to doing a heel flap, in that you leave
the top half of the stitches alone, while you knit the bottom.
So however you usually keep the unused stitches will do fine in this case, too.
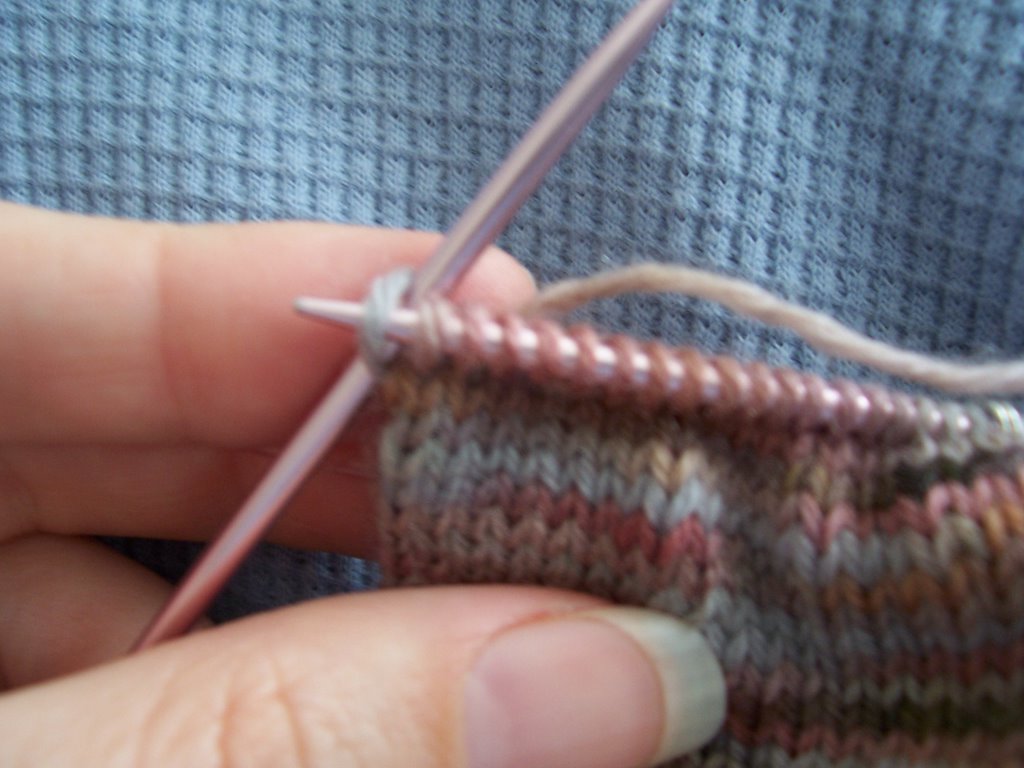
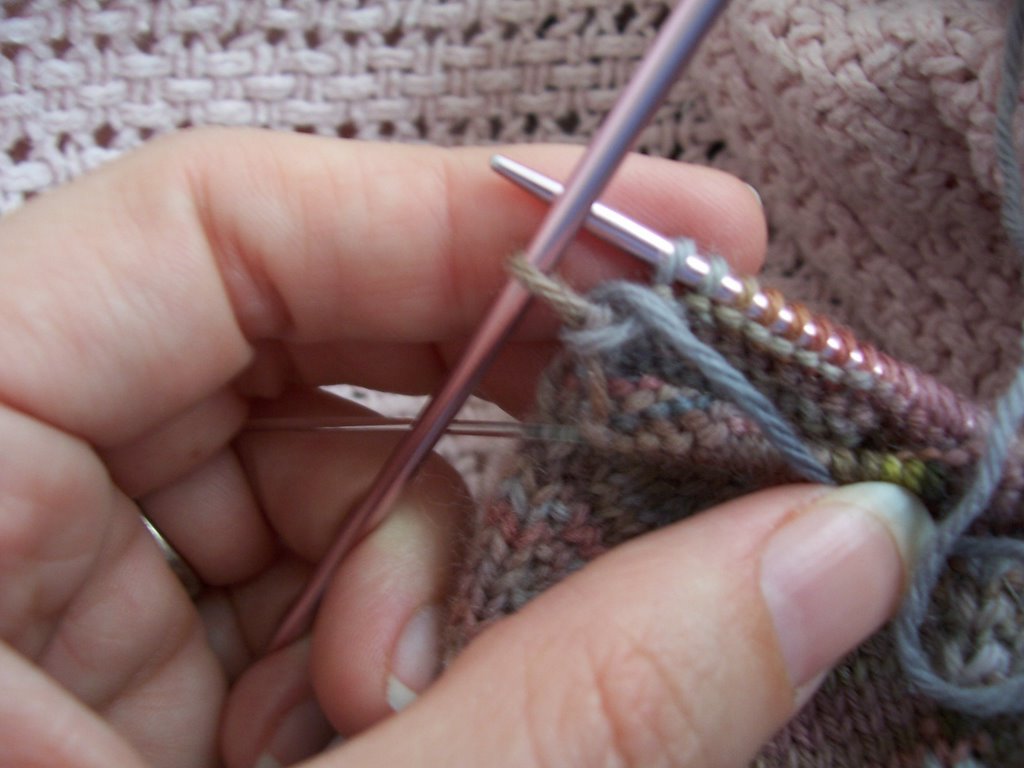
 Now, knit as normal all the way across the bottom stitches until you get to within one stitch of the end, then instead of knitting that stitch, you slip it onto the right needle.
 Then wrap the working yarn around the left side of the slipped stitch to the front of your work,

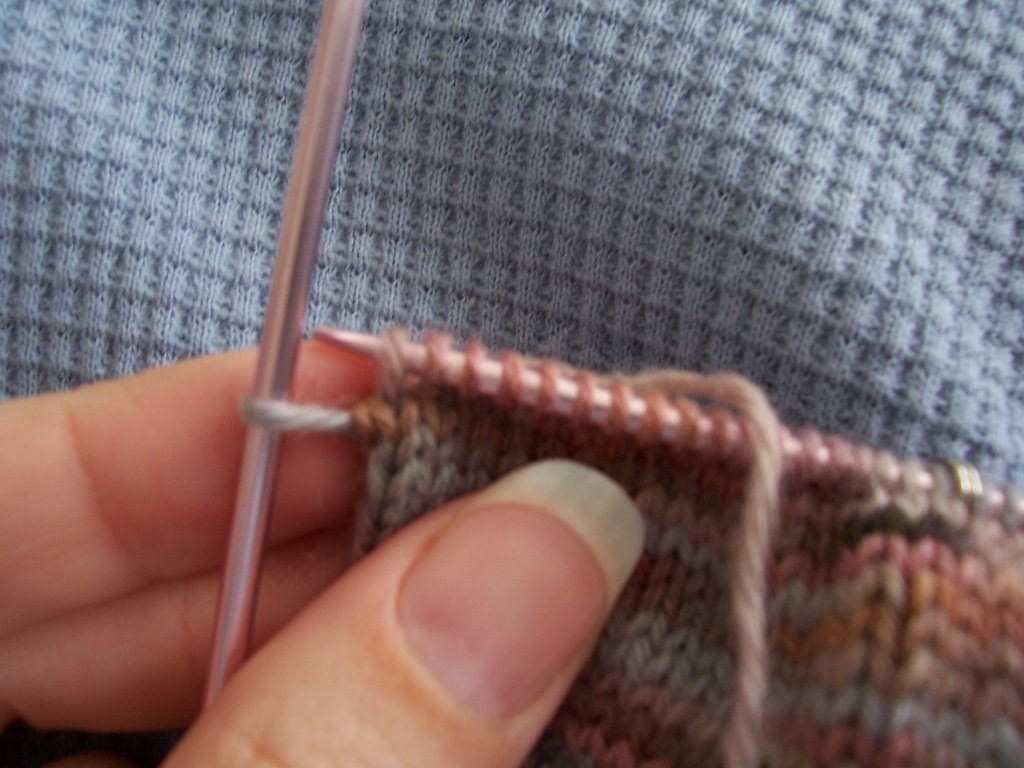
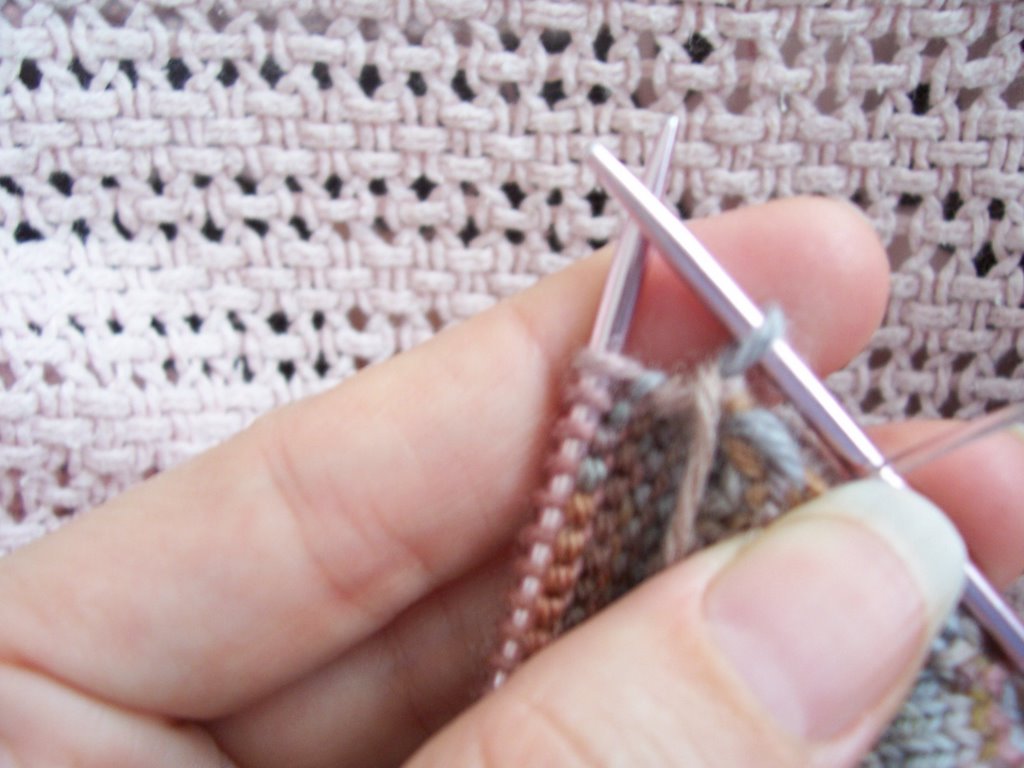
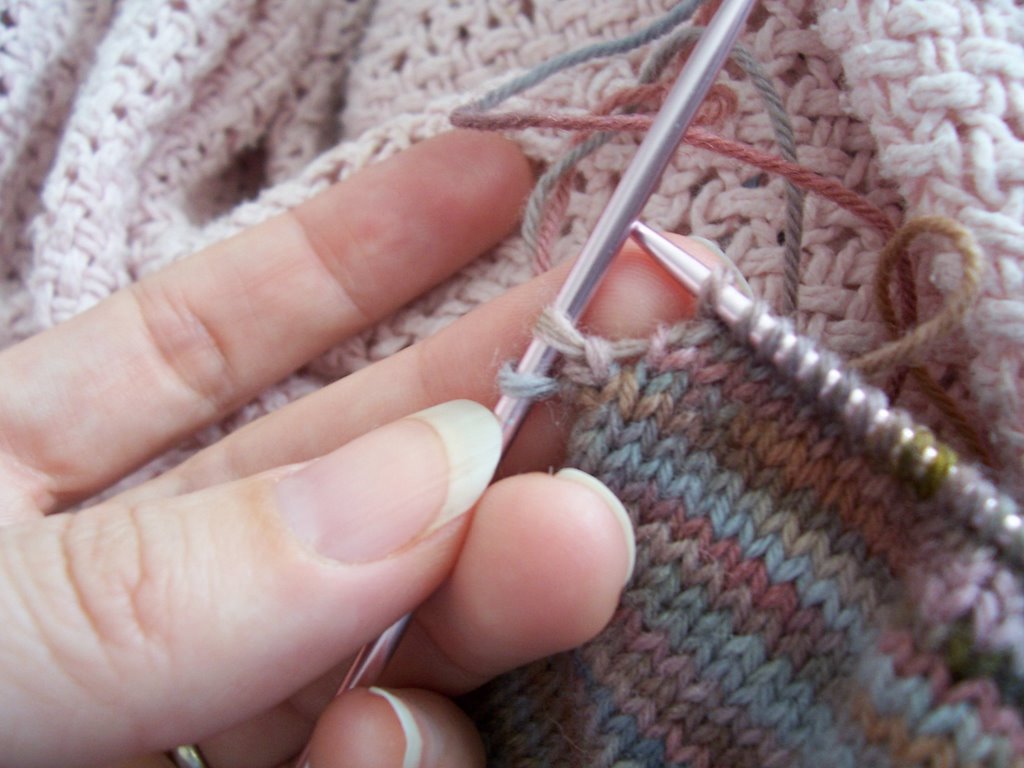
then slip that stitch BACK onto the left needle
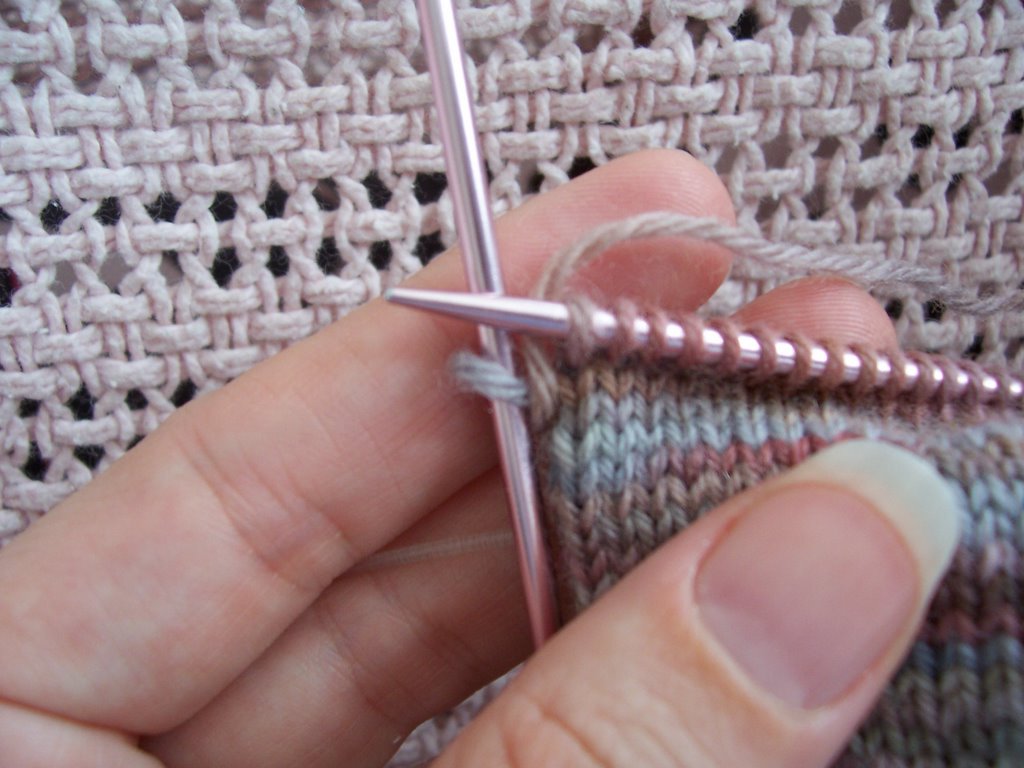
Put the yarn back to the back between the slipped stitch and the stitches on the right needle.
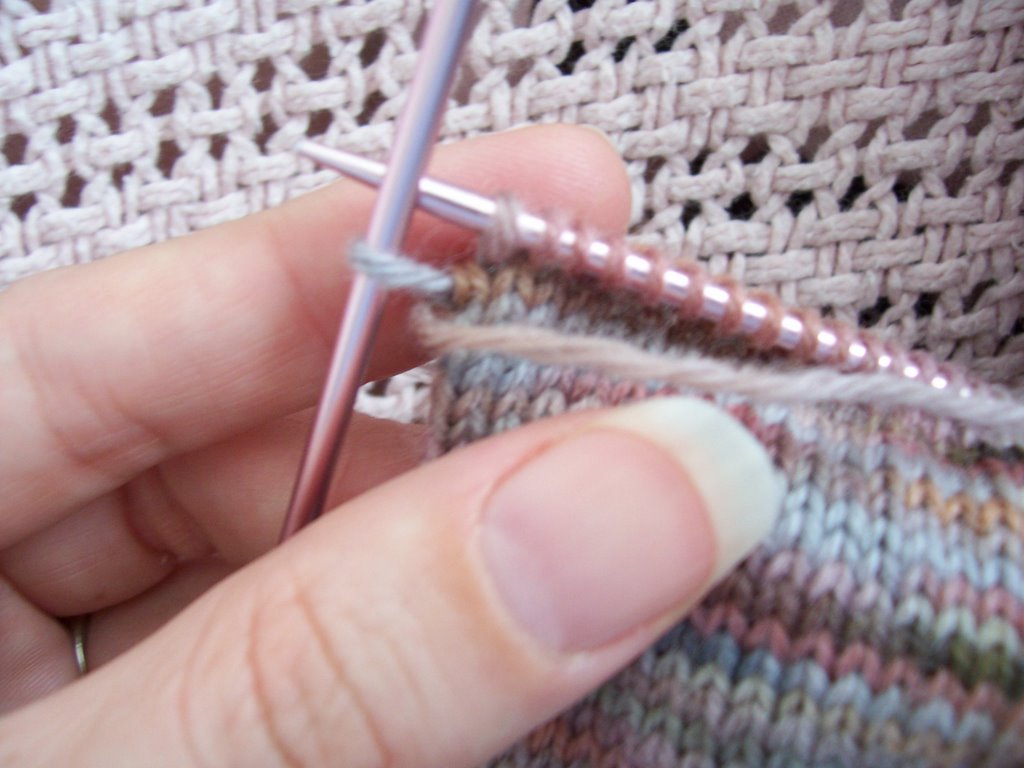
So..... now you have the slipped and wrapped stitch on the left needle and the working yarn in the back of your work ---->
You have just wrapped one stitch
Congratulations! =)
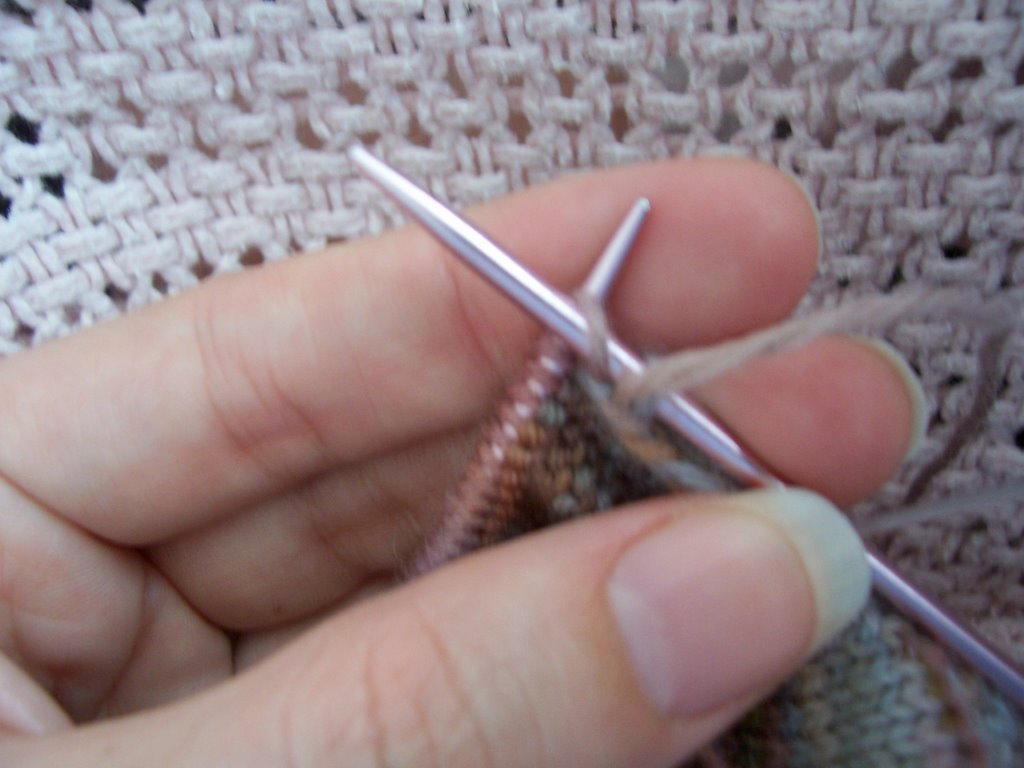
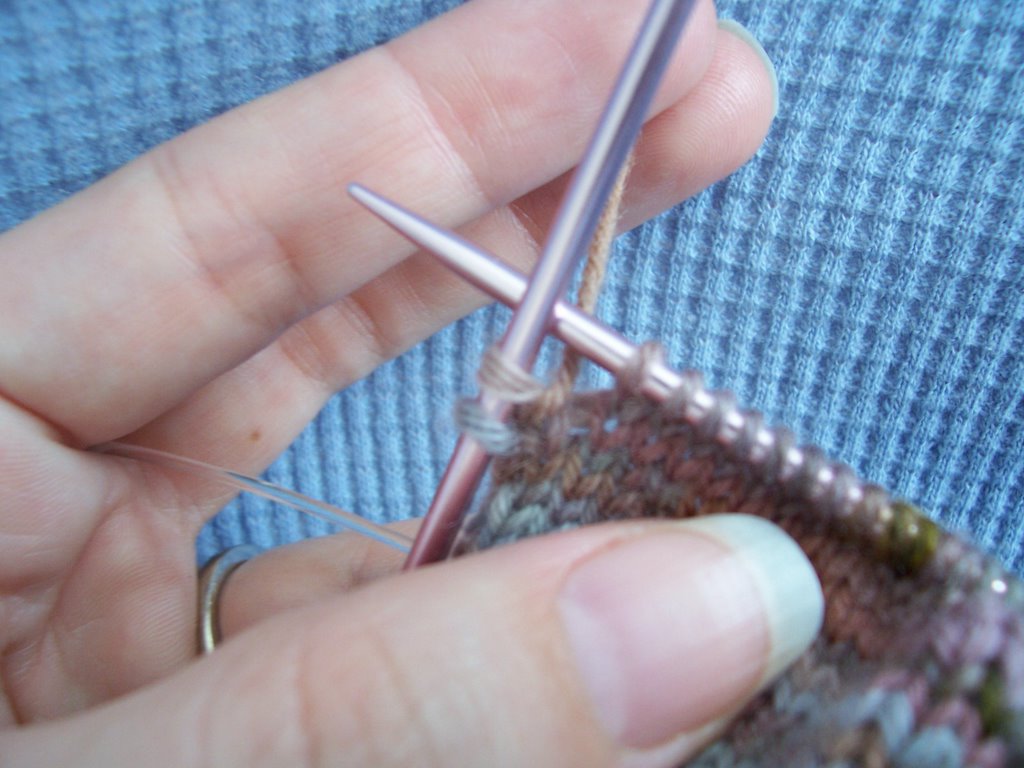
Now it's time to turn your work, keep the slipped stitch secure, and Purl.
 Purl all the way, to within one stitch of the end and, instead of knitting that stitch, you slip it and wrap it.
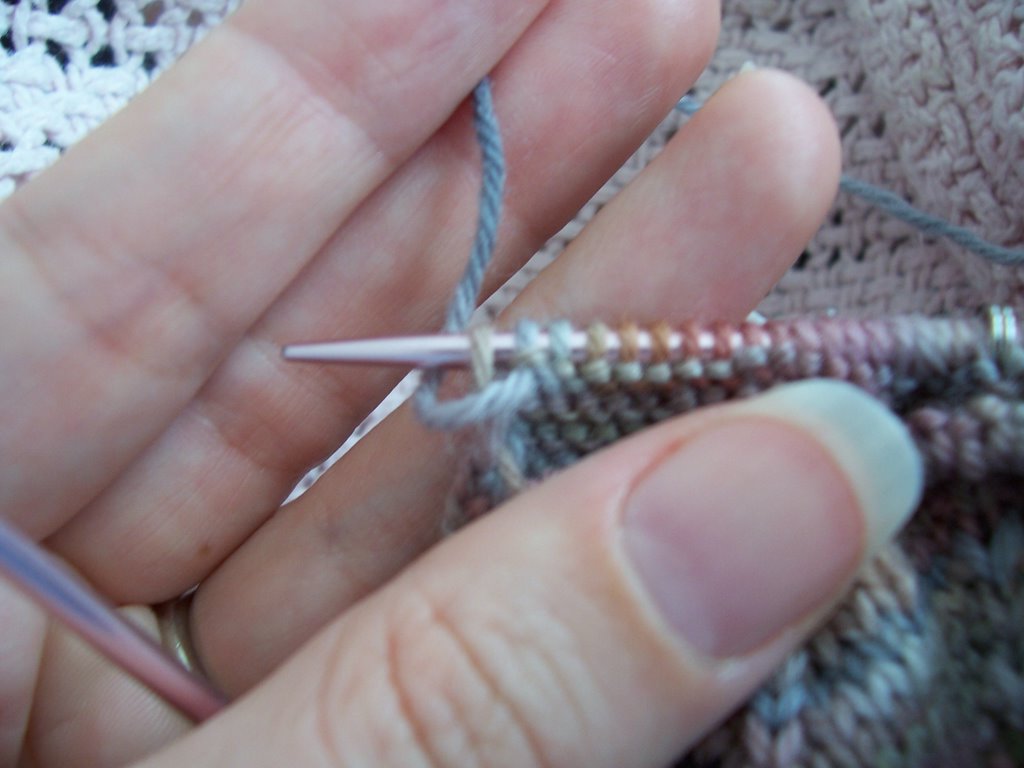
 Then, of course, slip the stitch back onto the left needle,
 bring the yarn back to the front and turn your work.
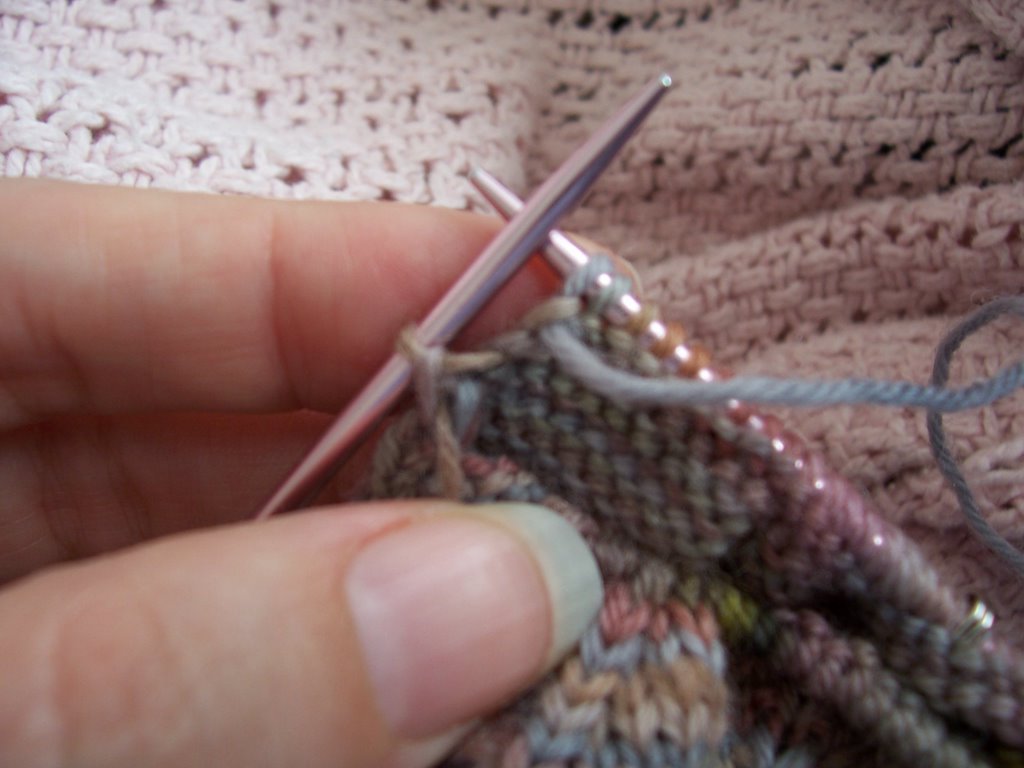
Continue in this manner, back and forth until you have the desired
number of stitches remaining on either side of your stitch marker.


Knit or purl to the second to last
unwrapped stitch, slip it, wrap it, put it back, turn and repeat, until you have 'decreased' enough stitches for a comfortable toe.

In my case, I started out with total of 38 stitches which puts 19 stitches on either side of the stitch. The end of my foot is pretty wide, so I didn't go down too pointy, I wrapped 12 stitches on each side of the stitch marker - which 'decreases' 24 stitches total. I left 14 stitches across the middle which is 7 stitches on either side of the marker.

The next step, can be done a number of ways. Most of these ways leave eyelets or little holes, which don't bother me, much, but seem to annoy the rest of my peers. =) So here's the link to the way to do it without holes: Hole-Free Short Rows
The standard way is to knit and purl, back and forth, picking up the wraps and knitting them together with the slipped stitches. The tutorial I used picks up the slipped stitch, the wrap, and 'wrap' from the stitch below the slipped stitch. I only explained that because I was confused about it at first.
OK, I am very tired now, as I have been working on this all dang day, and now it's 11:40PM, my house is, as my DD would say, "A disaster!" and I think I'm getting sick AGAIN =( - So hopefully this makes a little sense to someone. I'm off! Tootleloooo!
posted by Aprilynne @ 6:57 PM
5 Comments:
-
At 9:24 AM, Pixiepurls said�
-
At 12:52 PM, knit_chick said�
Wow. You're really tackling socks and all the different techniques like there's no tomorrow! Short row heels & toes are next on my list. Thanks for all the great notes. They'll definitely help!
Since doing this tutorial I have tried a bunch of ways to do the 'unwrapping' part. I had a bookmark on my computer to the link for it before my computer went into a coma. I can't remember the link even a little bit, but if you want to know about it, send me an email and I'll explain it, lol.
As tiring as it is making tutorials, re-posting them is only a little less tedious. I'm actually breathless. Of course being the MOM has something to do with that, right? Interruptions, etc...
I'm not sure how many more installments of the vintage stuff I'm going to do, anyone have any suggested previous posts?
1 comment:
Wow. Wow. You did an awesome job putting that tutorial together. That must have taken a chunk of time! I have been working on the Twist and Lace scarf pattern from Lisa Souza, so I have been getting REAL good at short rowing now, lol!
Post a Comment